
Designing a Vertical Sundial for a South-Facing Wall
A vertical sundial on a south-facing wall can turn a plain exterior into a working solar clock. In the northern hemisphere, a wall that faces true south is the best vertical surface for a dial because it receives sunlight for most of the day. The design is not difficult, but it depends on three things that must be handled carefully: latitude, true south, and the angle of the shadow-casting style. Get those right, and the hour lines can be laid out with simple geometry.
This article assumes a direct south-facing dial in the northern hemisphere. In the southern hemisphere, the equivalent dial would face north. A south-facing wall in the southern hemisphere is not the same instrument and should not use the formulas below without adjusting the geometry.
How a South-Facing Vertical Dial Works
Every sundial depends on a shadow-casting edge called the style. The style must be parallel to Earth’s rotation axis. On a horizontal dial, the style is tilted above the dial plate by an angle equal to the local latitude. On a vertical south-facing dial, the geometry changes because the dial plane is vertical. The style must still be parallel to Earth’s axis, so its angle measured from the wall surface is 90° minus the latitude.
As the sun moves across the sky, the style casts a shadow that moves across the wall. At true solar noon, the shadow falls on a vertical noon line. Morning and afternoon hour lines mirror each other around that line. Because the dial is vertical, the hour lines are not evenly spaced. They crowd near noon and spread wider toward the edges of the wall. Near 6 a.m. and 6 p.m. at the equinoxes, the hour lines approach horizontal.
The style line is parallel to the polar axis. On a south-facing wall, the outward part of the style usually points away from the wall and downward; the same line extended inward and upward points toward the north celestial pole. A practical gnomon, whether a metal rod or a triangular plate, should be mounted so that its shadow-casting edge follows this line.
Start with Latitude and True South
The first number you need is the latitude of the site. A value to within a fraction of a degree is enough for a garden-quality dial. The second requirement is more demanding: the wall must face true south, not magnetic south. A compass points toward magnetic north, which may differ from true north by many degrees depending on location. Use a map, a GPS receiver, a surveyed line, or a true-solar-noon observation to establish the wall’s orientation.
A wall that is slightly off true south is called a declining wall. Its hour lines will no longer be perfectly symmetrical, and the simple formula below will produce small errors. For a casual dial, a deviation of two or three degrees may be acceptable. For a precise dial, either correct the layout for wall declination or choose a different wall.
- Latitude: determines the style angle and the spacing of the hour lines.
- True south: establishes the noon line and the symmetry of the dial.
- Plumb wall: a leaning wall changes the dial plane and introduces errors.
- Clear exposure: trees, roof overhangs, and nearby buildings can shade the dial when it should be working.
Calculating the Style Angle
Let the latitude be φ. For a direct south-facing vertical dial in the northern hemisphere, the angle between the style and the wall surface is:
Style angle = 90° − φ
At 40° north latitude, the style angle is 50°. At 30° north, it is 60°. At 50° north, it is 40°. At the equator, the style is perpendicular to the wall. A common mistake is to set the style angle equal to the latitude, as one would for a horizontal dial. That produces a dial that is badly wrong except at one special latitude.
The style should be rigid and thin at its shadow-casting edge. A triangular metal gnomon is strong and easy to align. A rod can also work if it is supported firmly and if the exact edge or centerline that casts the shadow is identified. The wider the gnomon, the more diffuse the shadow and the less crisp the time reading.
Laying Out the Hour Lines
For a direct south-facing vertical dial in the northern hemisphere, the hour-line angle θ measured from the vertical noon line is:
tan θ = cos φ × tan H
Here H is the hour angle of the sun, measured from noon at 15° per hour. Thus 1 p.m. is 15°, 2 p.m. is 30°, 3 p.m. is 45°, and so on. Morning hours use the same angles on the opposite side of the noon line. All hour lines radiate from the point where the style’s shadow-casting edge meets the dial face.
For a dial at 40° north latitude, the afternoon hour-line angles are approximately:
- 1 p.m.: 11.6° from noon
- 2 p.m.: 23.9° from noon
- 3 p.m.: 37.5° from noon
- 4 p.m.: 53.0° from noon
- 5 p.m.: 70.7° from noon
- 6 p.m.: 90.0° from noon
The 11 a.m. through 6 a.m. lines mirror these values on the other side. The 6 a.m. and 6 p.m. lines are horizontal if they fit on the wall. In practice, the wall may be shaded near those limits, so many dials are marked only from about 7 a.m. to 5 p.m.
Choosing the Dial Plate and Gnomon
The wall itself can be the dial plate. Paint, carved stone, etched metal, or a separate weatherproof panel can all work. The important requirements are contrast, durability, and accurate line placement. A pale wall with dark lines, or a dark panel with light lines, reads best. Lines about 3 to 6 mm wide are usually visible without becoming clumsy.
- Use exterior-grade paint or engraved metal that will not fade quickly.
- Mount the gnomon with stainless or galvanized fasteners and avoid traps that hold water.
- Keep sharp edges away from reach, especially on a wall near a walkway or patio.
- Make the noon line easy to identify, since it is the reference for the whole dial.
- Leave enough blank wall around the hour lines so the dial does not look crowded.
A longer style casts a longer, easier-to-read shadow, but it also becomes more vulnerable to wind and accidental contact. For a typical wall dial, a gnomon projecting 20 to 40 cm is often sufficient. The dial should be large enough that a person can read the time from a comfortable standing distance.
Adding Declination Lines and Seasonal Marks
An optional but attractive addition is a set of solar declination lines. The sun’s declination changes through the year between about +23.44° at the June solstice and −23.44° at the December solstice. On a vertical dial, these produce curved lines that mark the solstices and equinoxes. They do not tell time by themselves, but they add seasonal information and make the dial more interesting.
Declination lines can be calculated with sundial software or plotted from a series of shadow positions for chosen dates. Mark the June solstice, the equinoxes, and the December solstice, then connect the points smoothly. A simple dial can omit these lines entirely; they are a refinement rather than a requirement.
Converting Solar Time to Clock Time
A sundial shows apparent solar time, not standard clock time. Three corrections may be needed. First, the equation of time accounts for the sun’s apparent motion and varies by roughly −14 to +16 minutes through the year. Second, a longitude correction is needed if the site is not on the standard meridian of its time zone; the correction is about four minutes per degree of longitude difference. Third, add one hour during daylight saving time.
A sundial does not tell the wrong time; it tells apparent solar time, while a clock tells standard time.
A small plaque beside the dial can list monthly corrections, or the dial can include a simple graph. For many readers, the pleasure of the dial comes from seeing solar time directly and then making the mental adjustment to clock time.
Installation and Testing
- Confirm true south and mark a temporary vertical noon line on the wall.
- Establish the style root, the point where the style meets the dial plane.
- Mount the gnomon at the correct angle of 90° minus latitude.
- Lay out the hour lines from the style root using the calculated angles.
- Check the dial at a known solar time and adjust only if the error is systematic.
- Finish the lines with durable paint or engraving after the test period.
Test the dial on a clear day near noon and again in mid-afternoon. If the shadow falls exactly on the noon line at true solar noon, the orientation is good. If every hour is off by the same amount, check for a longitude or daylight-saving correction. If the error grows toward the edges, check the wall orientation and the style angle.
Common Pitfalls
- Using magnetic south: a compass alone is not enough unless magnetic declination is corrected.
- Setting the style to latitude: a south-facing vertical dial uses 90° minus latitude from the wall.
- Ignoring wall declination: a wall that is several degrees off south needs a corrected layout.
- Assuming the wrong hemisphere: a south-facing wall is the direct dial in the northern hemisphere, not the southern.
- Forgetting clock corrections: equation of time, longitude, and daylight saving can shift the reading by many minutes.
- Making the lines too faint: a beautiful dial that cannot be read is not a useful dial.
A Worked Example at 40° North
Suppose a wall faces true south at 40° north latitude. The style angle from the wall is 50°. The noon line is vertical. Using the formula, the 1 p.m. line is 11.6° west of noon, the 2 p.m. line is 23.9°, the 3 p.m. line is 37.5°, the 4 p.m. line is 53.0°, and the 5 p.m. line is 70.7°. The morning lines mirror those values. If the wall is wide enough, the 6 a.m. and 6 p.m. lines lie horizontally through the style root.
Mark the noon line first, then measure each angle with a protractor or a carefully stretched string. Keep the style root fixed as the center of every line. Once the layout is complete, the wall becomes a readable instrument that shows the sun’s daily progress and connects the building to the geometry of the sky.
Final Thoughts
Designing a vertical sundial for a south-facing wall is a blend of astronomy, geometry, and craft. The key is to respect the latitude, verify true south, set the style at 90° minus latitude, and lay out the hour lines from the correct formula. A simple dial can be made in an afternoon; a refined dial can include seasonal lines, correction notes, and decorative lettering. Either way, the result is a useful and enduring feature that makes the movement of the sun visible on the wall.
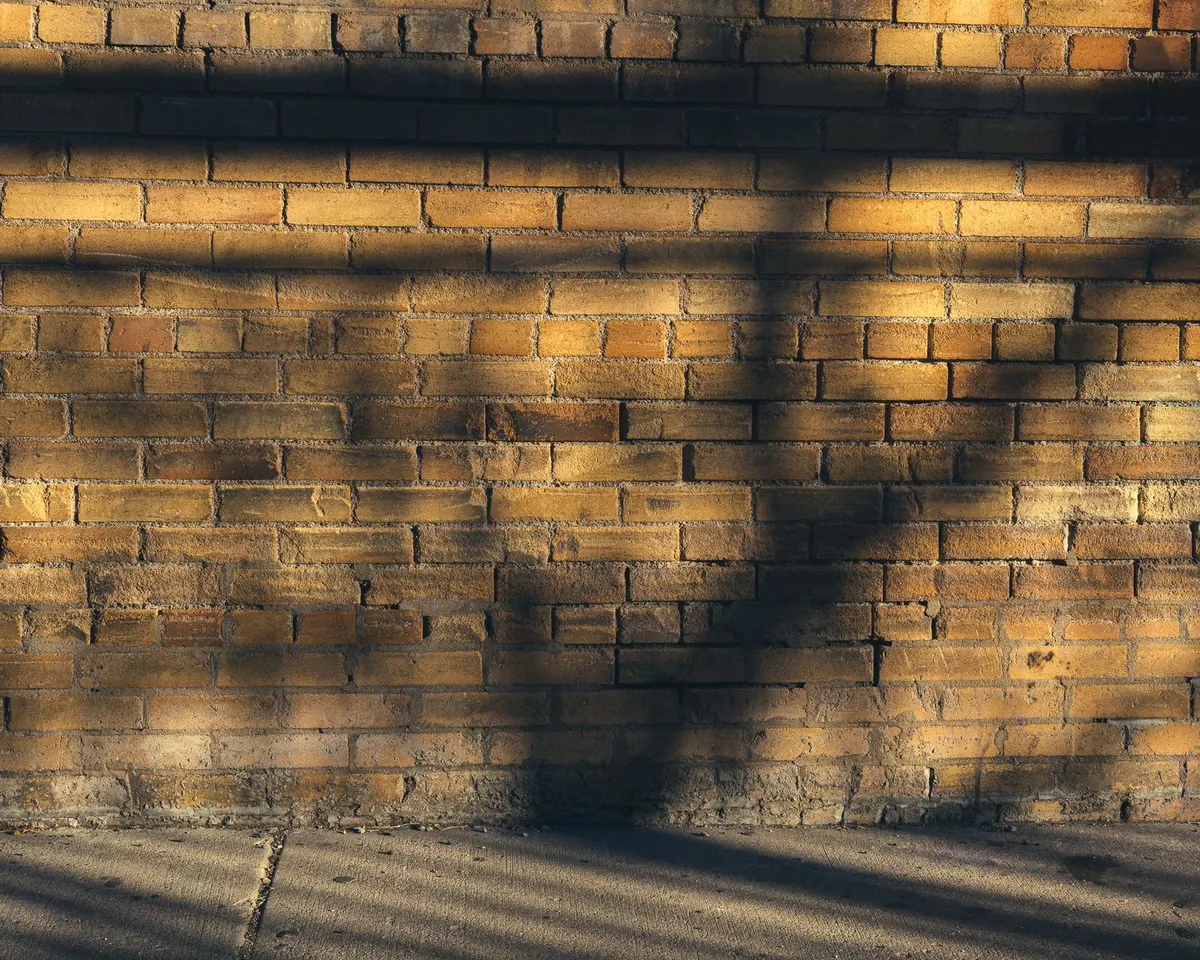
Photo: CHANDLER VAUGHAN / Pexels